







1. Space Planning
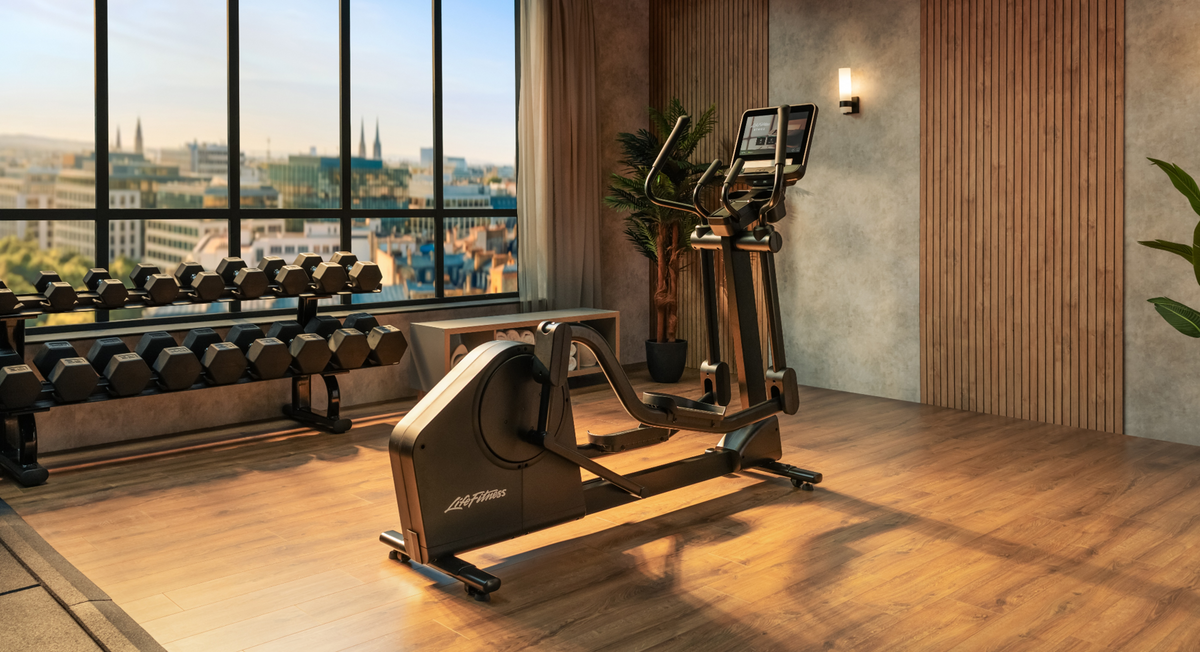
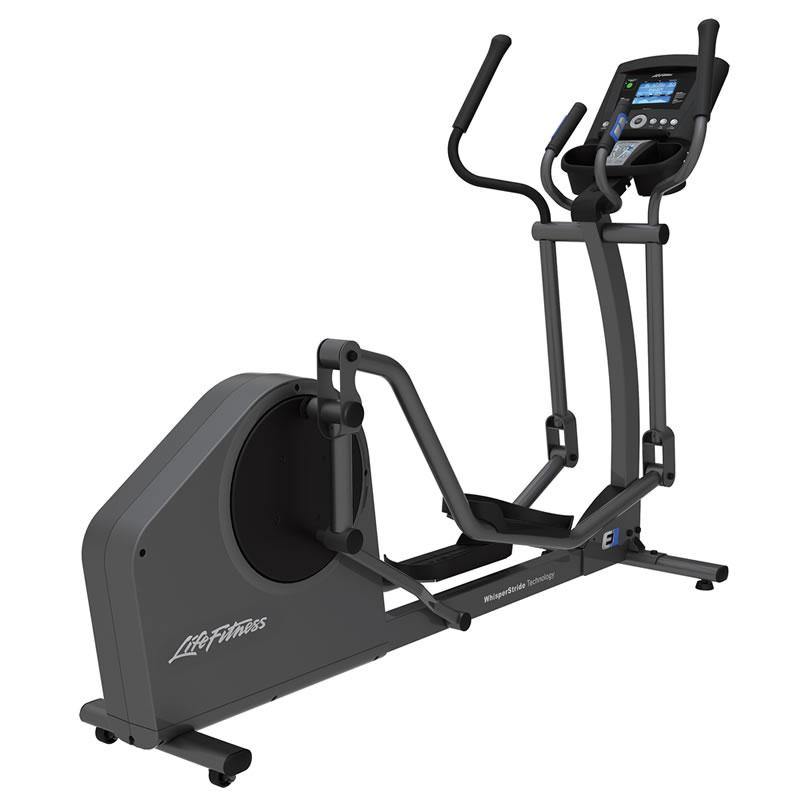
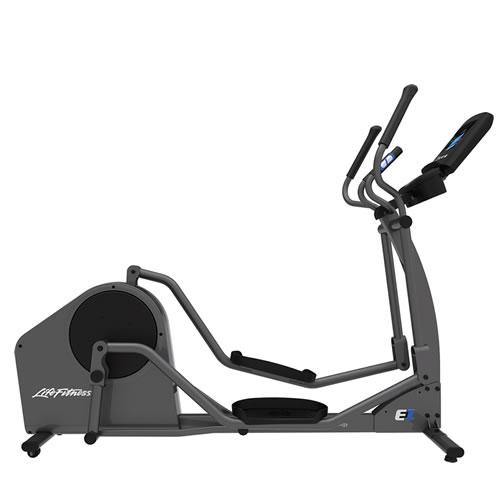
- Footprint: Most units measure 150–190 cm in length and 60–70 cm in width.
- Side and rear clearance: Allow approximately 50 cm at the sides and rear for safe access and egress.
- Floor loading: Machines commonly weigh 40–80 kg before user weight is considered; the floor structure should be assessed accordingly.
- Space-saving designs: Folding frames and transport wheels may suit smaller rooms.
- Height: We cover this in detail in the next section, as it is the most commonly overlooked constraint.
2. Height Provision and Calculation
Why Height Matters
When your on a cross trainer the exerciser stands on raised pedals, so the head sits well above its normal standing height. During the stride, the pedal on the forward or upward phase rises further still. Insufficient headroom is a common issue, and it can also create a safety risk.

Three Heights to Understand
- Machine overall height: The height of the frame and console, typically 150–180 cm. This determines whether the machine fits under low ceilings, beams or sloping roofs when not in use.
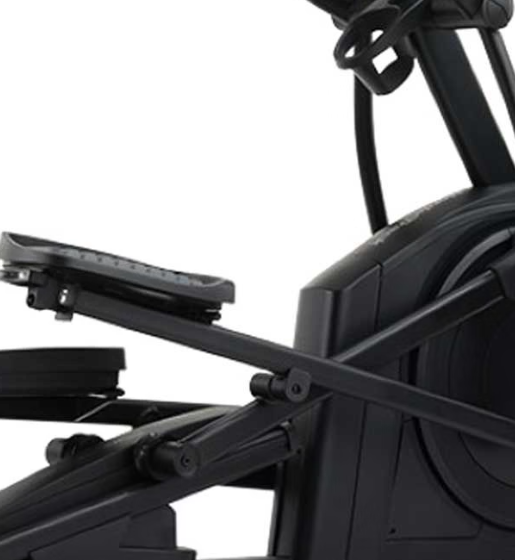
- Pedal (step-up) height: The distance from the floor to the pedal surface at its highest point. This is typically around 20–35 cm, and varies by model. Manufacturers do not always publish it, so check the specification sheet or ask the supplier.
- Incline lift: Where the machine has adjustable incline, the pedals can rise by a further several centimetres at maximum setting. Always use the maximum-incline pedal height in your calculation.

Calculation
Required ceiling height = H(user) + H(pedal) + H(incline) + H(margin)
Where:
- H(user) is the height of the tallest user (in shoes)
- H(pedal) is the pedal height at its highest point of travel
- H(incline) is the additional lift at maximum incline (use 0 if none)
- H(margin) is a safety margin for head clearance and movement, recommended at 10–15 cm minimum
Worked Examples
| Item | Example A | Example B |
|---|---|---|
| Tallest user (with shoes) | 180 cm | 190 cm |
| Pedal height (highest point) | 25 cm | 32 cm |
| Incline lift | 0 cm | 8 cm |
| Safety margin | 15 cm | 15 cm |
| Required ceiling height | 220 cm | 245 cm |
- Example A would fit a ceiling of 2.2 m or more,
- While Example B would need a ceiling above 2.45 m.
A standard UK ceiling height of about 2.4 m would therefore not suit Example B at full incline. A generic rule of “at least 2.4 m” is a useful guide, but the calculation above is more reliable for taller users or machines with high pedals.
Additional Height Considerations
- Lights, fans and beams: Measure the lowest obstruction above the usage area, not just the ceiling.
- Sloping ceilings and lofts: Check clearance at the exact position where the head will travel, including the forward lean at the top of the stride.
- Basements and garages: Pipes, ducting and garage door tracks often reduce usable height.
- Floor mat: A mat adds 5–15 mm, which is small but should be included in tight spaces.
- Overhead arm movement: Moving handlebars have an arc of travel; check that they do not conflict with low fixtures.
- Doorways and stairs: Machine height and length determine whether it can be moved to the room. Measure the route, allowing for turns.
3. Front-Drive vs Rear-Drive Mechanisms
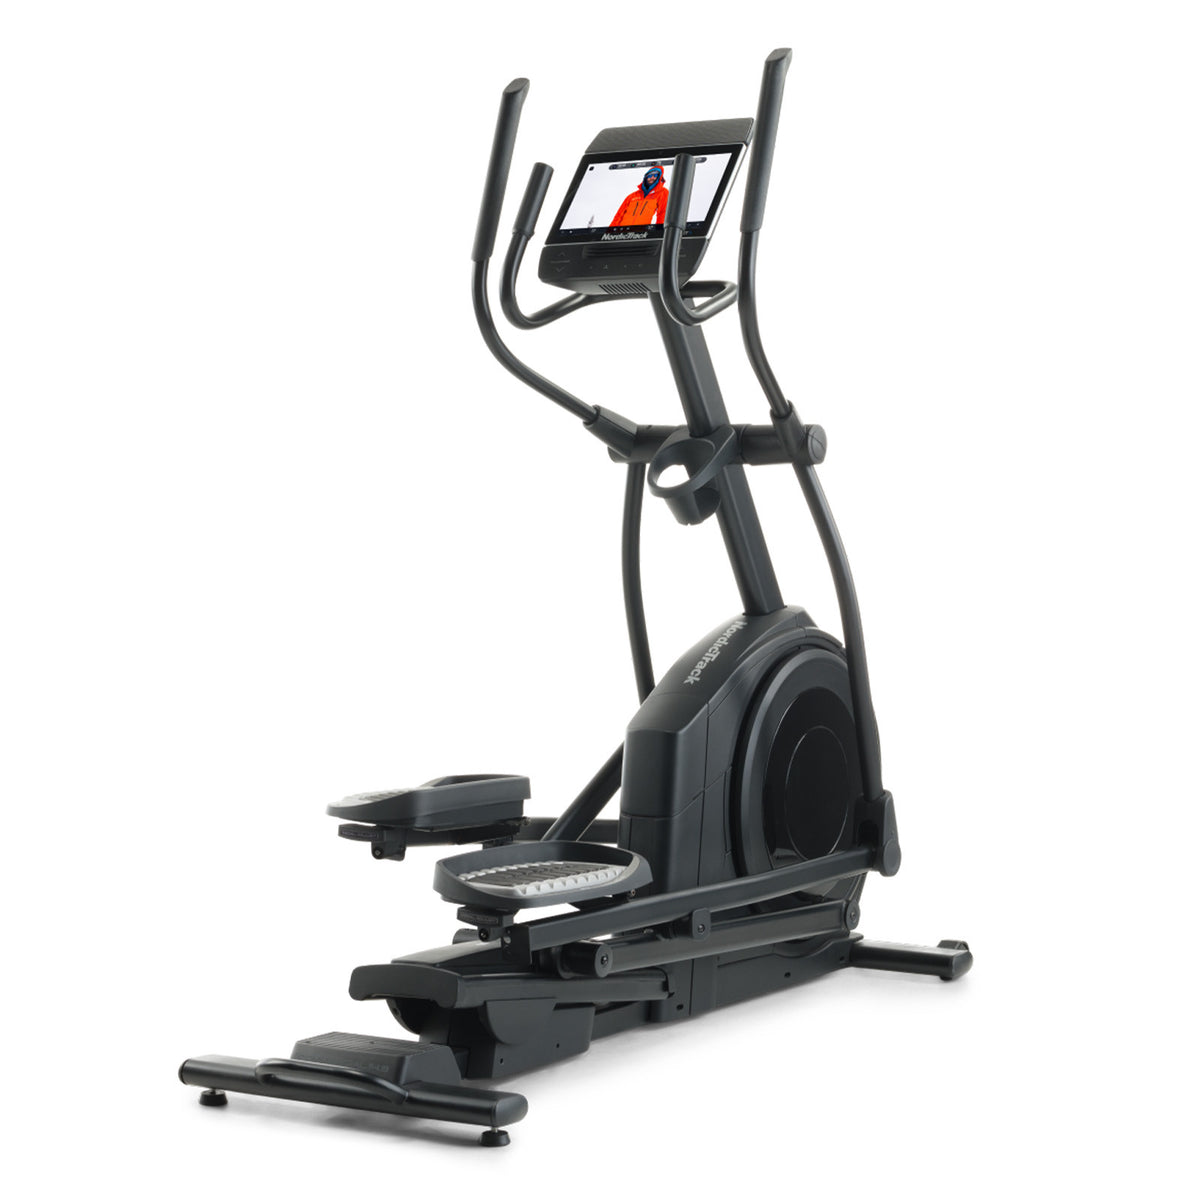
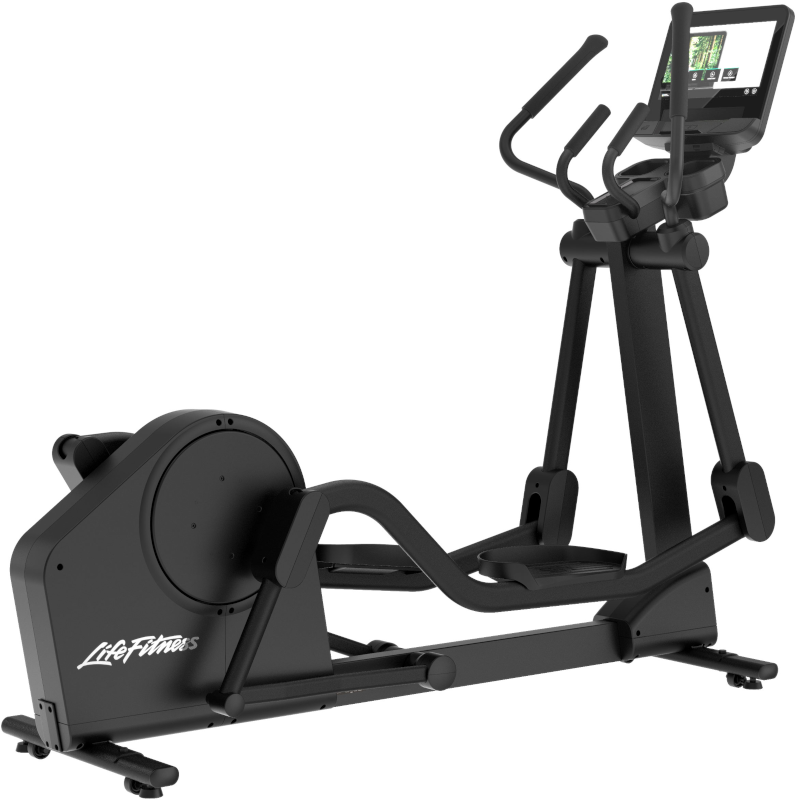
The drive system of the cross trainer, refers to the location of the flywheel relative to the user. It influences footprint, stride feel and, in many cases, the pedal height. As we illustrate below with the 2 variants.

Front-Drive
The flywheel sits ahead of the user, usually beneath or near the console. The pedal arms are linked to it by a crank at the front.
- Footprint: Generally shorter and more compact.
- Stride feel: Tends to produce a more elliptical, steeper and sometimes more “climbing” motion, similar to a stair-climber feel.
- Height impact: Pedals tend to sit lower at the rear, but the motion can lift the user at the front of the stride. Because the pedal path is typically more inclined, overall head travel can be somewhat greater during the stride, so the margin should not be reduced.
- Cost and maintenance: Typically more affordable, and simpler to build. The flywheel’s position can make the front housing bulky.
- Best suited to: Smaller rooms where length is the main constraint.
Rear-Drive
The flywheel sits behind the user, with the pedals driven from the rear.
- Footprint: Generally longer, as the flywheel housing extends behind the pedals.
- Stride feel: Typically flatter and smoother, more like natural walking or running. Many users find it more comfortable over long sessions.
- Height impact: The flatter pedal path means head movement is typically steadier and more predictable, so the vertical travel of the user’s head is easier to estimate. However, the rear housing can raise the pedal start position on some designs, so the specified pedal height must be checked.
- Cost and maintenance: Usually higher in price, with a more refined build.
- Best suited to: Rooms with sufficient length and users who want the most natural stride.
Summary Comparison
| Factor | Front-Drive |
Rear-Drive |
|---|---|---|
| Length | Shorter | Longer |
| Stride path | Steeper, more climbing | Flatter, more natural |
| Head travel | Potentially greater variation | More consistent |
| Pedal height | Check specification; varies | Check specification; can be higher on some models |
| Typical cost | Lower | Higher |
| Best for | Compact rooms | Longer rooms, comfort |
These are general tendencies. Pedal height and head travel vary considerably by manufacturer and model, so always rely on the published dimensions and calculate against them.
4. Other Key Specifications
Stride Length
Units below 38 cm may feel restrictive; 43–51 cm is generally recommended, particularly for taller users. Longer strides can also affect machine length and, on some designs, pedal height. Adjustable stride length is valuable where multiple users of differing heights share the machine.
Flywheel Weight
A flywheel of 8 kg or more typically provides a smoother, more consistent motion.
Resistance Mechanism
- Magnetic resistance: Quiet, smooth and low-maintenance; the preferred option for most residential applications.
- Friction or belt resistance: Lower cost, but noisier and subject to greater wear.
A minimum of 16 resistance levels is recommended.
Incline
Adjustable incline targets the glutes and hamstrings and increases training variety, but raises pedal height as noted above.
Handlebars
Moving handlebars engage the upper body and raise overall energy expenditure. Fixed handles may be preferable for users requiring additional stability.
Console and Connectivity
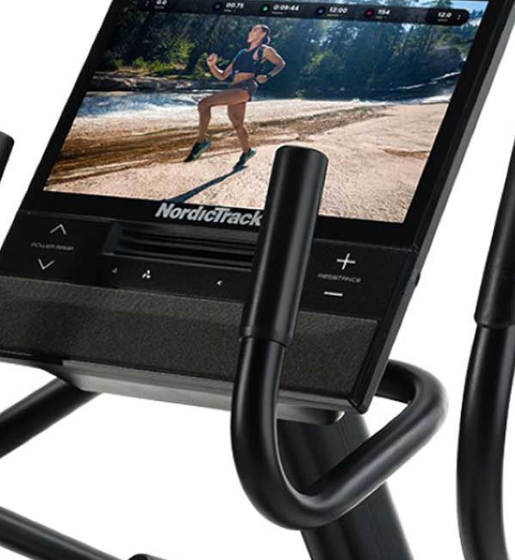
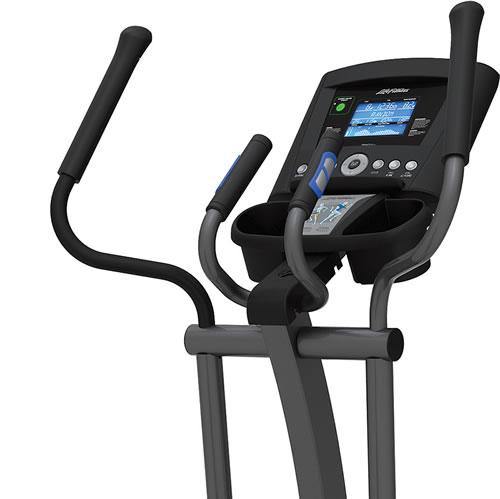
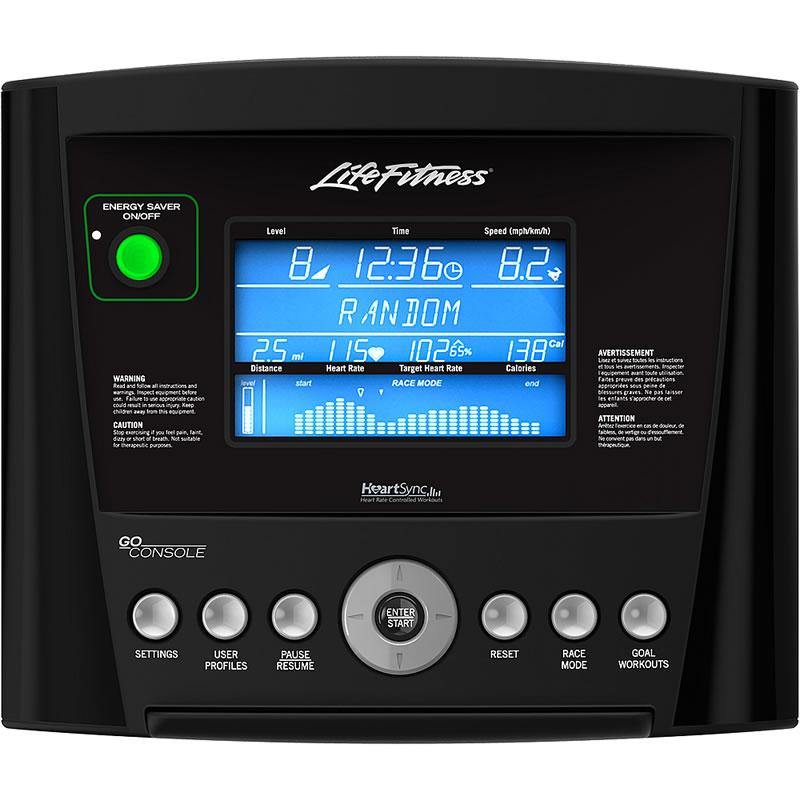
Evaluate display legibility and available metrics (time, distance, speed, calories, heart rate). Bluetooth compatibility with platforms such as Zwift, Kinomap or iFIT can support long-term engagement.
5. Noise Management
Magnetic, belt-driven machines are the quietest. A rubberised mat reduces vibration and protects flooring, which is particularly important in apartments or shared dwellings.
6. User Suitability and Safety
- Confirm the maximum user weight and select a model with an adequate margin.
- Assess pedal width and spacing (Q-factor) for comfort.
- Heart rate monitoring, via handgrip sensors or a chest strap, supports training within target zones.
- Non-slip pedals and stable handles are important safety features.
- Individuals with existing medical conditions should seek advice from a GP or physiotherapist before commencing a new exercise programme.
7. Build Quality, Delivery and Maintenance
- Prioritise a robust steel frame and minimal movement under high resistance.
- A warranty of at least two years on parts is a reasonable benchmark.
- Assembly typically takes one to two hours; confirm whether it is included.
- Clean after each use, inspect fixings and pedals every few months, and lubricate moving components in line with manufacturer guidance.
Selection Checklist
Concluding Thoughts
A well-chosen cross trainer is a sound long-term investment for the home gym. Vertical clearance is the constraint most often underestimated, and it should be calculated from the tallest user’s height, the pedal height and any incline lift, plus a safety margin. Understanding the differences between front-drive and rear-drive designs further helps match the machine to your personal movement preference, your room, balancing footprint, stride quality and headroom.