Nationwide Sales & Service - 01536 802333

A well-developed chest requires more than simply pushing weight. The pectoralis major—your primary chest muscle—consists of distinct regions that respond to different angles and movement patterns. To build a balanced, powerful, and aesthetically impressive chest, you need to target the upper fibres, middle fibres, and outer fibres through strategic exercise selection and precise technique.
We examine the three fundamental chest movements—flat press, incline press, and fly variations—using commercial-style machines. Whether you're training in a luxury home gym or a professional facility, understanding proper technique, programming strategies, and equipment selection will transform your chest development.
The pectoralis major originates from the clavicle (collarbone), sternum (breastbone), and upper ribs, inserting onto the humerus (upper arm bone). This broad origin creates distinct functional regions:
Clavicular head (upper chest): Originates from the clavicle and is emphasised during incline pressing movements. This region creates the upper chest "shelf" and contributes to shoulder flexion.
Sternal head (middle and lower chest): Originates from the sternum and is maximally activated during flat and decline pressing. This larger region provides the bulk of chest mass and pressing power.
Primary functions: The pectoralis major performs horizontal adduction (bringing your arm across your body), shoulder flexion (raising your arm forward), and internal rotation of the shoulder. Different exercises emphasise different functions and regions.
Complete chest development requires addressing all regions through varied angles and movement types:
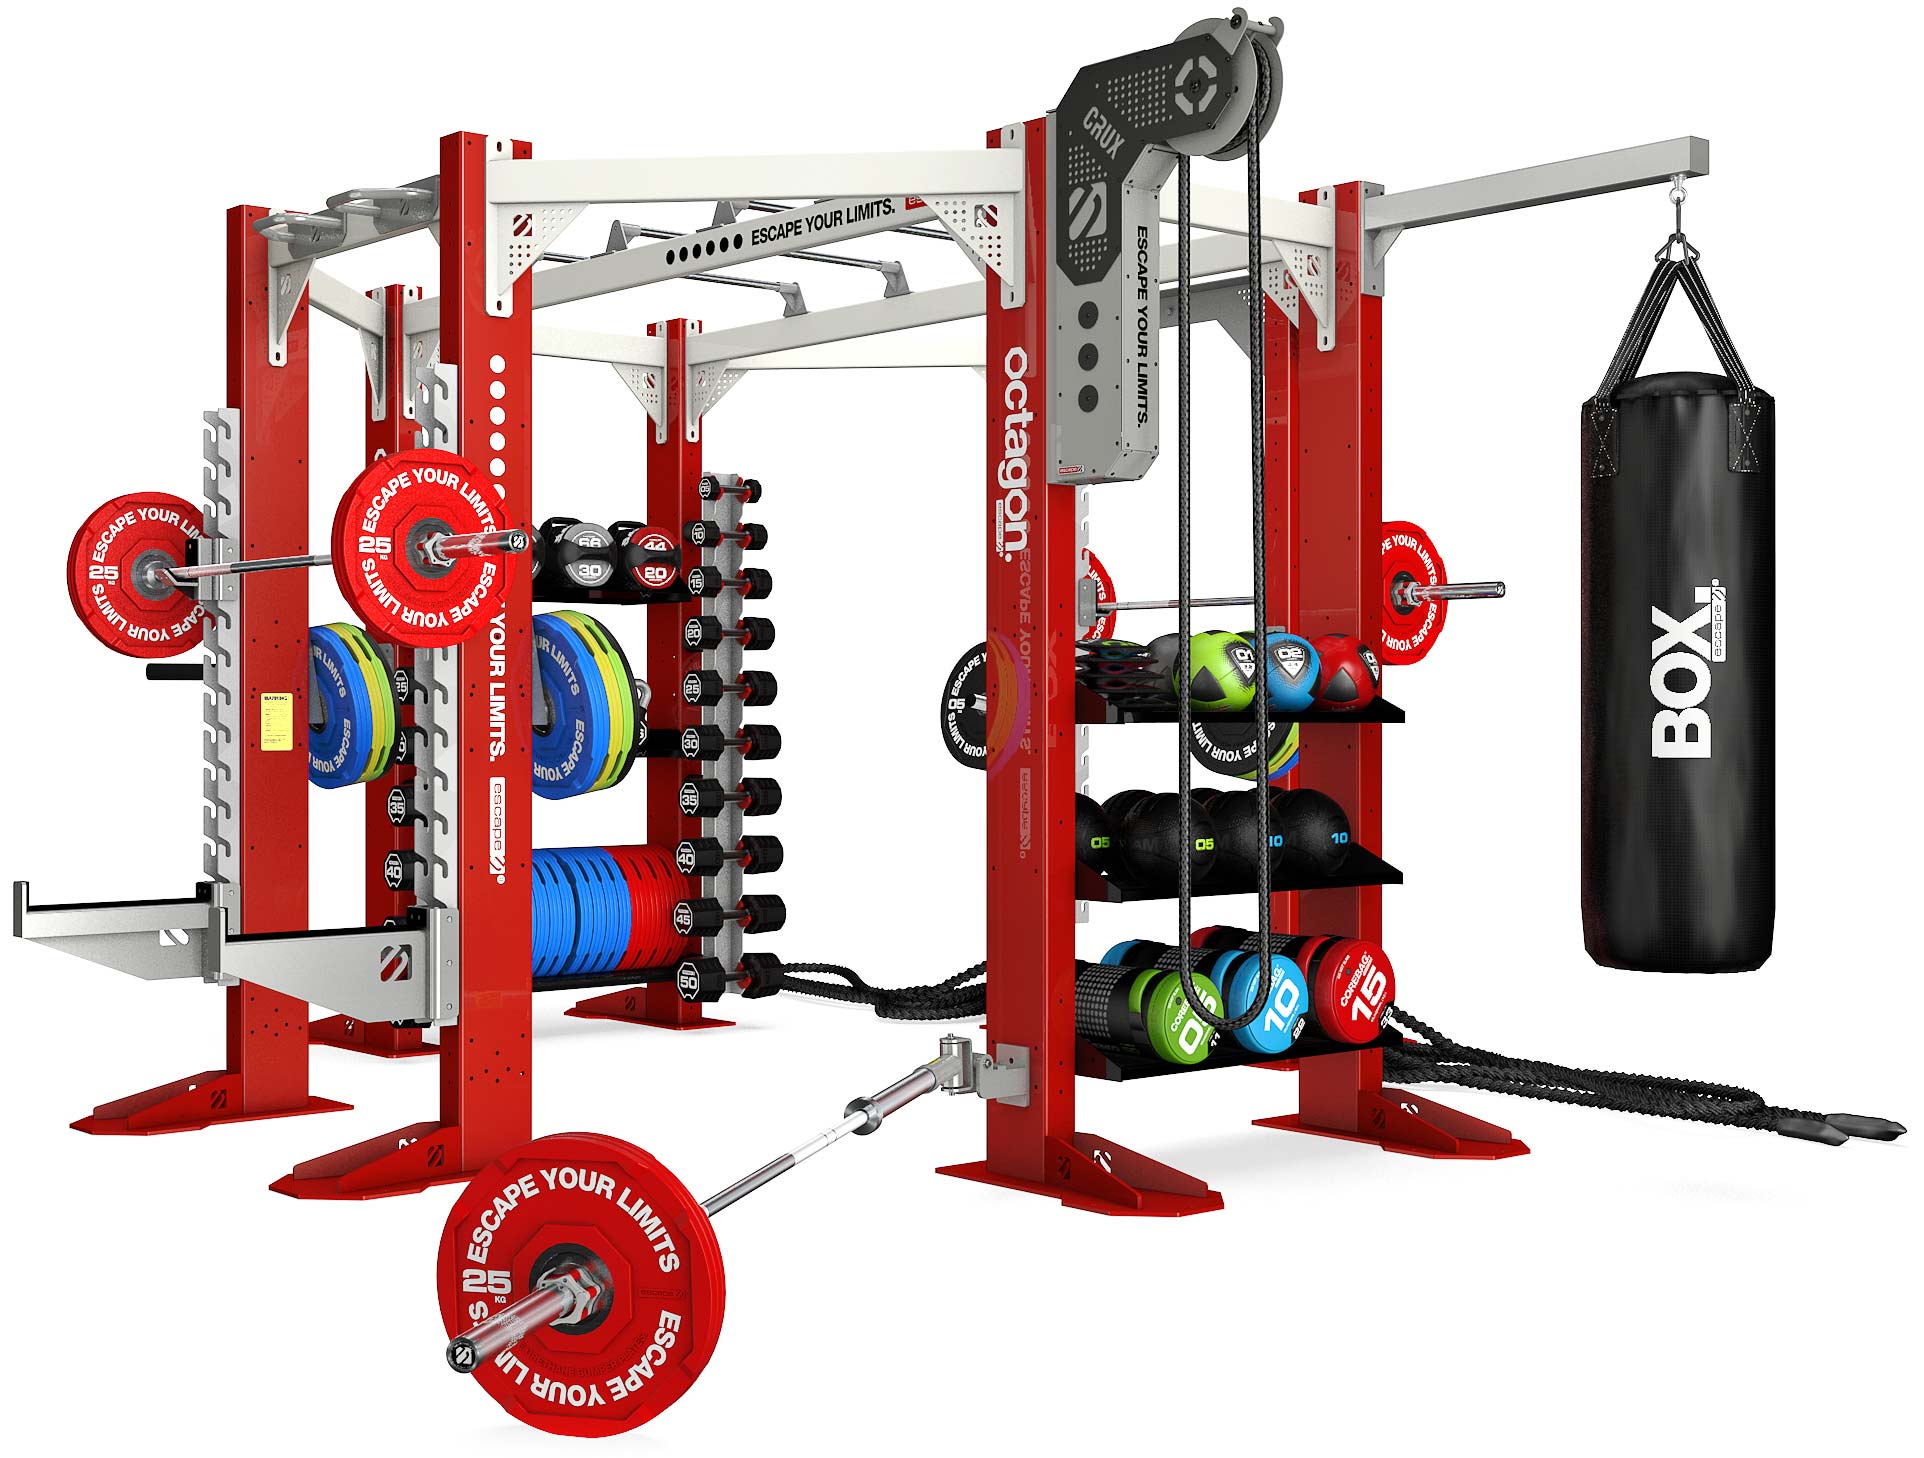
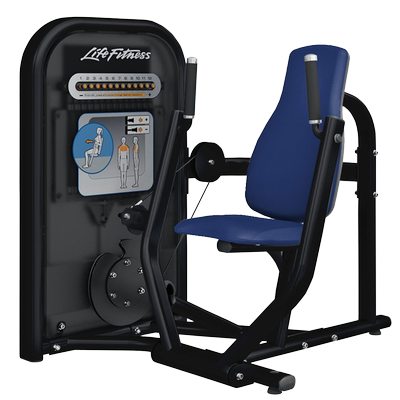
Premium selectorised machines such as the Life Fitness Insignia Series Chest Press, Life Fitness Axiom Series Chest Press, and Hammer Strength MTS Chest Press offer smooth resistance curves and ergonomic positioning that maximise chest activation whilst minimising shoulder stress.
The Hammer Strength Select SE Full Chest Press features exceptional biomechanics and durability, whilst the Primal Performance Series 125kg Pin-Select Chest Press and Primal Performance Series ISO Chest Press provide reliable performance for high-volume training environments.
The Life Fitness Signature Series Incline Chest Press, Spirit Incline Chest Press Machine, and Primal Strength Incline ISO Chest Press feature optimised angles (typically 30-45 degrees) that maximally activate the clavicular head whilst minimising anterior deltoid dominance.
The Hammer Strength Iso-Lateral Wide Chest provides independent arms that accommodate individual biomechanics, whilst the Primal Performance Series Dual Chest/Shoulder Press offers versatile positioning for both incline chest and shoulder work.
Incline angle dramatically affects muscle recruitment:
15-30 degrees: Primarily targets the sternal head with moderate upper chest involvement. Useful for those with shoulder sensitivity to steeper angles.
30-45 degrees: Optimal for upper chest development. This range maximally activates the clavicular head whilst maintaining significant overall chest involvement.
45-60 degrees: Shifts emphasis increasingly toward the anterior deltoid (front shoulder). Whilst still involving the upper chest, this steep angle is more of a shoulder exercise than a chest movement.
Most premium incline chest press machines are engineered at 30-40 degrees—the sweet spot for upper chest development.
The Hammer Strength Plate Loaded Super Fly offers exceptional range of motion and independent arms for unilateral training. The Life Fitness Signature Series Chest Press Cable Motion enables varied angles and continuous tension throughout the movement, ideal for cable-based fly variations.
Selectorised pec deck machines from Spirit and Primal Strength Dual Chest/Shoulder Press (when configured for fly movements) offer smooth, controlled resistance ideal for isolation work.
Unlike pressing movements that involve both the chest and triceps, fly exercises isolate horizontal adduction—bringing your arms together across your body. This isolation creates several unique benefits:
Deep stretch stimulus: Fly movements allow a greater stretch across the chest than pressing exercises, creating muscle damage and growth stimulus through eccentric loading at long muscle lengths.
Peak contraction emphasis: The resistance curve of fly machines provides maximum tension when your hands come together—precisely when your chest is maximally contracted. This differs from pressing, where tension often decreases at lockout.
Reduced tricep involvement: By eliminating the elbow extension component, fly movements ensure your chest is the limiting factor, not tricep fatigue.
Starting position: With your arms extended to the sides (maintaining the slight elbow bend), you should feel a deep stretch across your chest. Your hands should be positioned slightly behind the plane of your torso for maximum stretch, but not so far back that your shoulders roll forward.
Concentric phase: Bring your arms together in a wide, arcing motion, as if you're hugging a large tree. Focus entirely on contracting your chest to bring your hands together—don't think about your arms or hands, think about your chest muscles pulling your arms inward. Exhale during this phase.
Peak contraction: When your hands meet in front of your chest, squeeze your pectorals as hard as possible for 1-2 seconds. Imagine trying to crush something between your chest muscles. This peak contraction is where fly movements provide their greatest benefit.
Eccentric phase: Control the weight back to the starting position over 3-4 seconds—slower than pressing movements. Inhale as you open your arms. The eccentric phase of fly movements is particularly important for muscle growth, so emphasise control and time under tension.
Tempo recommendation: 2 second concentric, 2 second squeeze, 3-4 second eccentric. This slower tempo maximises the unique benefits of fly movements.
Optimal exercise sequencing maximises performance and results:
1. Incline press first: Begin with incline pressing when you're freshest. Upper chest development is often a weak point and responds best to prioritisation. Starting with incline work ensures you can use maximum loads and intensity on this crucial movement.
2. Flat press second: After pre-fatiguing the upper chest, flat pressing provides overall chest mass stimulus whilst you still have significant strength available.
3. Fly movements last: Finish with fly exercises when your chest is fatigued. The isolation nature of fly movements makes them ideal for accumulating additional volume and achieving a deep pump without requiring heavy loads.
Warm-up:
Working Sets:
Exercise 1: Incline Chest Press (Life Fitness Signature Series or Primal Strength Incline ISO)
Sets: 4
Reps: 8-10
Rest: 2-3 minutes
Tempo: 2-0-3-0 (2 second concentric, no pause, 3 second eccentric, no pause)
Notes: Use a weight that brings you close to failure on the final set. Focus on upper chest contraction throughout.
Exercise 2: Flat Chest Press (Life Fitness Insignia Series or Hammer Strength MTS)
Sets: 4
Reps: 10-12
Rest: 2 minutes
Tempo: 2-1-2-0 (2 second concentric, 1 second squeeze, 2 second eccentric, no pause)
Notes: Slightly higher rep range than incline work to accumulate volume across the entire chest.
Exercise 3: Chest Fly (Hammer Strength Super Fly or Cable Motion)
Sets: 3
Reps: 12-15
Rest: 90 seconds
Tempo: 2-2-3-0 (2 second concentric, 2 second squeeze, 3 second eccentric, no pause)
Notes: Focus on the stretch and squeeze. Weight is secondary to perfect form and mind-muscle connection.
Optional Exercise 4: High-to-Low Cable Fly (if using cable station)
Sets: 2
Reps: 15-20
Rest: 60 seconds
Tempo: 2-1-3-0
Notes: Targets lower chest fibres. Perform with cables set high, bringing hands down and together toward your waist.
Total working sets: 11-15
Total workout time: 35-45 minutes
Continuous improvement requires systematic progression:
Frequency: Train chest 1-2 times per week depending on overall programme structure and recovery capacity.
Once weekly: Appropriate for beginners or when using very high volume (15+ working sets). Allows full recovery between sessions.
Twice weekly: Optimal for most intermediate and advanced lifters. Distribute volume across two sessions (e.g., 8 sets Monday, 7 sets Thursday) for increased frequency without excessive fatigue.
Recovery indicators: You should feel fully recovered before your next chest session. Persistent soreness, decreased performance, or joint discomfort indicate insufficient recovery—reduce volume or frequency.
Vary your training approach across 4-6 week blocks:
Strength phase (4-6 reps, 4-5 sets, 3-4 minutes rest): Build maximum strength on pressing movements. Use heavier loads with lower reps. Reduce fly volume during this phase.
Hypertrophy phase (8-12 reps, 3-4 sets, 2 minutes rest): The sample workout above represents a hypertrophy-focused approach. Balanced volume and moderate loads optimise muscle growth.
Metabolic phase (12-20 reps, 2-3 sets, 60-90 seconds rest): Higher reps, shorter rest, and increased fly volume create significant metabolic stress and pump. Excellent for breaking through plateaus.
Rotate through these phases to provide varied stimuli and prevent adaptation.
Machines with independent arms (such as the Hammer Strength Iso-Lateral Wide Chest, Hammer Strength Iso-Lateral Chest and Back, and Primal Performance Series ISO Chest Press) enable single-arm training that addresses strength imbalances and increases core stability demands. Perform all reps on one side before switching, or alternate arms each rep for an anti-rotation core challenge.
Add 2-3 second pauses at the stretch position (bottom of press or fly) or contraction position (top of press or fly) to eliminate momentum and increase time under tension. Particularly effective on fly movements.
After reaching failure on your final set, immediately reduce the weight by 20-30% and continue to failure again. Repeat 1-2 more times. Selectorised machines make drop sets seamless—simply move the pin. Excellent for fly movements as a finisher.
Perform fly movements immediately before pressing to pre-fatigue the chest, ensuring it's the limiting factor during pressing rather than triceps. For example: chest fly 12 reps, immediately into flat press 8-10 reps, rest 2 minutes, repeat.

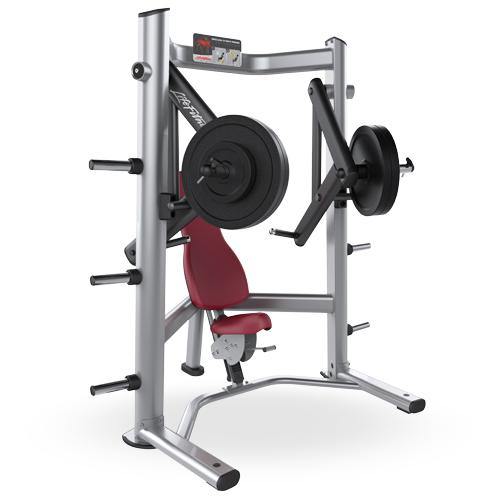
Plate-loaded machines such as the Life Fitness Signature Series Incline Chest Press and Hammer Strength Iso-Lateral series allow unlimited loading for advanced strength progression. The Hammer Strength Plate Loaded Super Fly provides exceptional stability for heavy fly work.
Selectorised machines like the Life Fitness Insignia Series Chest Press, Life Fitness Axiom Series Chest Press, Hammer Strength Select SE Full Chest Press, and Primal Performance Series 125kg Pin-Select Chest Press offer smooth resistance curves and quick weight changes ideal for hypertrophy-focused training with varied rep ranges and techniques.
The Life Fitness Signature Series Chest Press Cable Motion provides pressing and fly capabilities with continuous tension, whilst the Primal Performance Series Dual Chest/Shoulder Press offers multi-function capability in a compact footprint.
The Life Fitness Circuit Series, Hammer Strength MTS, Spirit, and Primal Performance Series machines offer exceptional durability and biomechanics for high-volume commercial environments serving diverse populations.
Muscle growth requires adequate protein intake: 1.6-2.2g per kilogram of bodyweight daily. Distribute protein across 4-5 meals, with 25-40g per serving to optimise muscle protein synthesis.
Consume 20-40g of high-quality protein within 2 hours post-workout. Pair with carbohydrates (0.5-1g per kg bodyweight) to replenish glycogen and support recovery.
Muscle growth occurs during recovery, not training. Aim for 7-9 hours of quality sleep nightly. Consider active recovery methods such as light cardio, stretching, or massage on rest days to enhance blood flow without creating additional fatigue.
Building an impressive chest requires mastering three fundamental movements—flat press, incline press, and fly variations—and applying them consistently with perfect technique. The premium equipment available from Life Fitness, Hammer Strength, Spirit, and Primal Strength provides the biomechanical precision and durability necessary for long-term progress.
Focus on progressive overload, maintain impeccable form, prioritise the mind-muscle connection, and allow adequate recovery. Whether you're training in a luxury home gym or a commercial facility, these principles combined with the right equipment will deliver the chest development you're pursuing.
Start with the sample workout provided, master the technique cues for each movement, and progressively increase demands over time. Your chest will respond with increased strength, size, and definition—the hallmarks of intelligent, consistent training.